


What Is Clipping?
Clipping is the practice of shaving a horse, essentially giving a horse or pony a haircut. There are many different styles of clipping, ranging from the trace clip, which is primarily done for the horse’s comfort, to the full body clip, which is the show standard for most English disciplines.
Why Do We Clip?
As with so many things in the horse world, the answer is… it depends. There are many reasons why we clip, but the main ones are for comfort or for show. Many older horses have Cushing’s disease, which is an imbalance in their pituitary gland that prevents them from shedding out naturally and leads to extremely thick coats. Therefore, many owners elect to have them clipped for comfort reasons.
The other primary reason is for the show circuit. A full-body clip is the traditional show standard for English riding disciplines, but it also provides the added benefits of making some injuries easier to see and treat and reducing the grooming time necessary to remove a sweat mark.
What do you need to clip a horse?
Clippers
The physical clippers are obviously an essential part of clipping a horse. But where to begin? I suggest that beginner clippers invest in two primary machines:
- A multi-purpose clipper that can be used for the majority of the body
- A smaller, more detail-oriented clipper designed for more sensitive areas
Common Brands
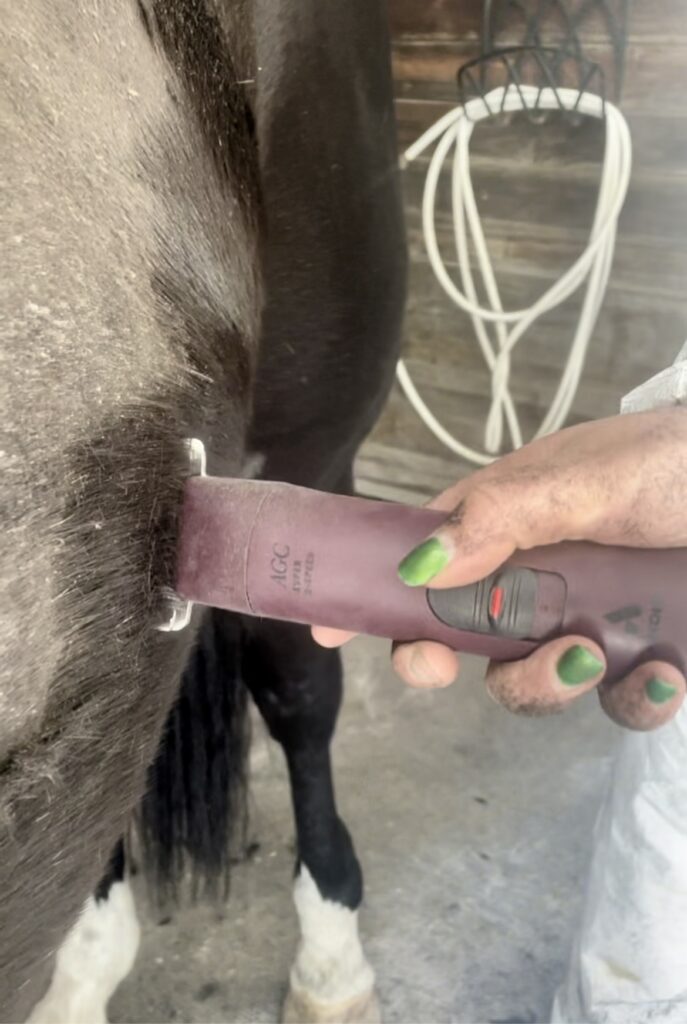
In the U.S., some common brands are Andis, Wahl, Oster, and Lister. My personal go-to clippers are the Andis AGC Super 2-Speed for multi-purpose use and the Wahl Show Pro Plus for detail areas, but the best way to choose the right clipper for you is to try them out! Most stores will allow you to return a clipper if it doesn’t work well for you.
Clipper Accessories
The clipper itself is one requirement of clipping a horse, but it also needs to be properly maintained. In order to do so, a new clipper (person) should invest in the following:
- Blades – most clippers will come with a single blade, but you should have multiple in order to alternate throughout the clipping process.
- Blade Spray – clipper blades get hot as they’re being used and must be sprayed down during the process for lubrication and temperature regulation. Blade spray is necessary but often wears off quickly.
- Clipper Oil – clipper oil should be used to reduce blade friction and improve blade life expectancy. It also is beneficial for the motor of the clipper machine.
A best practice in clipping is: when in doubt, add oil! Both spray and oil should be added often during the clipping process.
Clipping Extras
While the clipper and accessories are essential, I wish I had these items as part of my clipping kit when I first started. They make the process so much easier, no matter where you’re clipping!
- Headlamp – lighting at barns varies, and your hands are busy clipping so the headlamp is absolutely essential for seeing the detail needed for a clean clip finish.
- Protective suit – horse hair is ITCHY! And you will be covered in it – I highly recommend investing in a protective suit. I buy a disposable Tyvek suit off of Amazon which is cheap and effective.
- Extension cord – most clippers need to be plugged in, and it’s best to have an extension cord as part of your kit to permit a more flexible clipping location
- Step Stool – don’t rely on a barn to have one of these; bring it with you! Absolutely necessary for reaching spots, particularly on larger horses.
Preparing to Clip
Once you have the physical items listed above in your clipping kit, it’s time to get ready to clip! When preparing to clip, make sure the horse is freshly bathed but dry. Dirty horses are hard on blades and take longer to finish. Next, choose a time of day that is less busy but also when you are not alone at the barn. You might need help holding your horse, and generally speaking, it’s better to be safe than sorry in the horse world. Finally, if you are new to clipping, start with clipping horses that are comfortable being clipped. This allows you to learn and perfect the skill and sets you and the horse up for success!
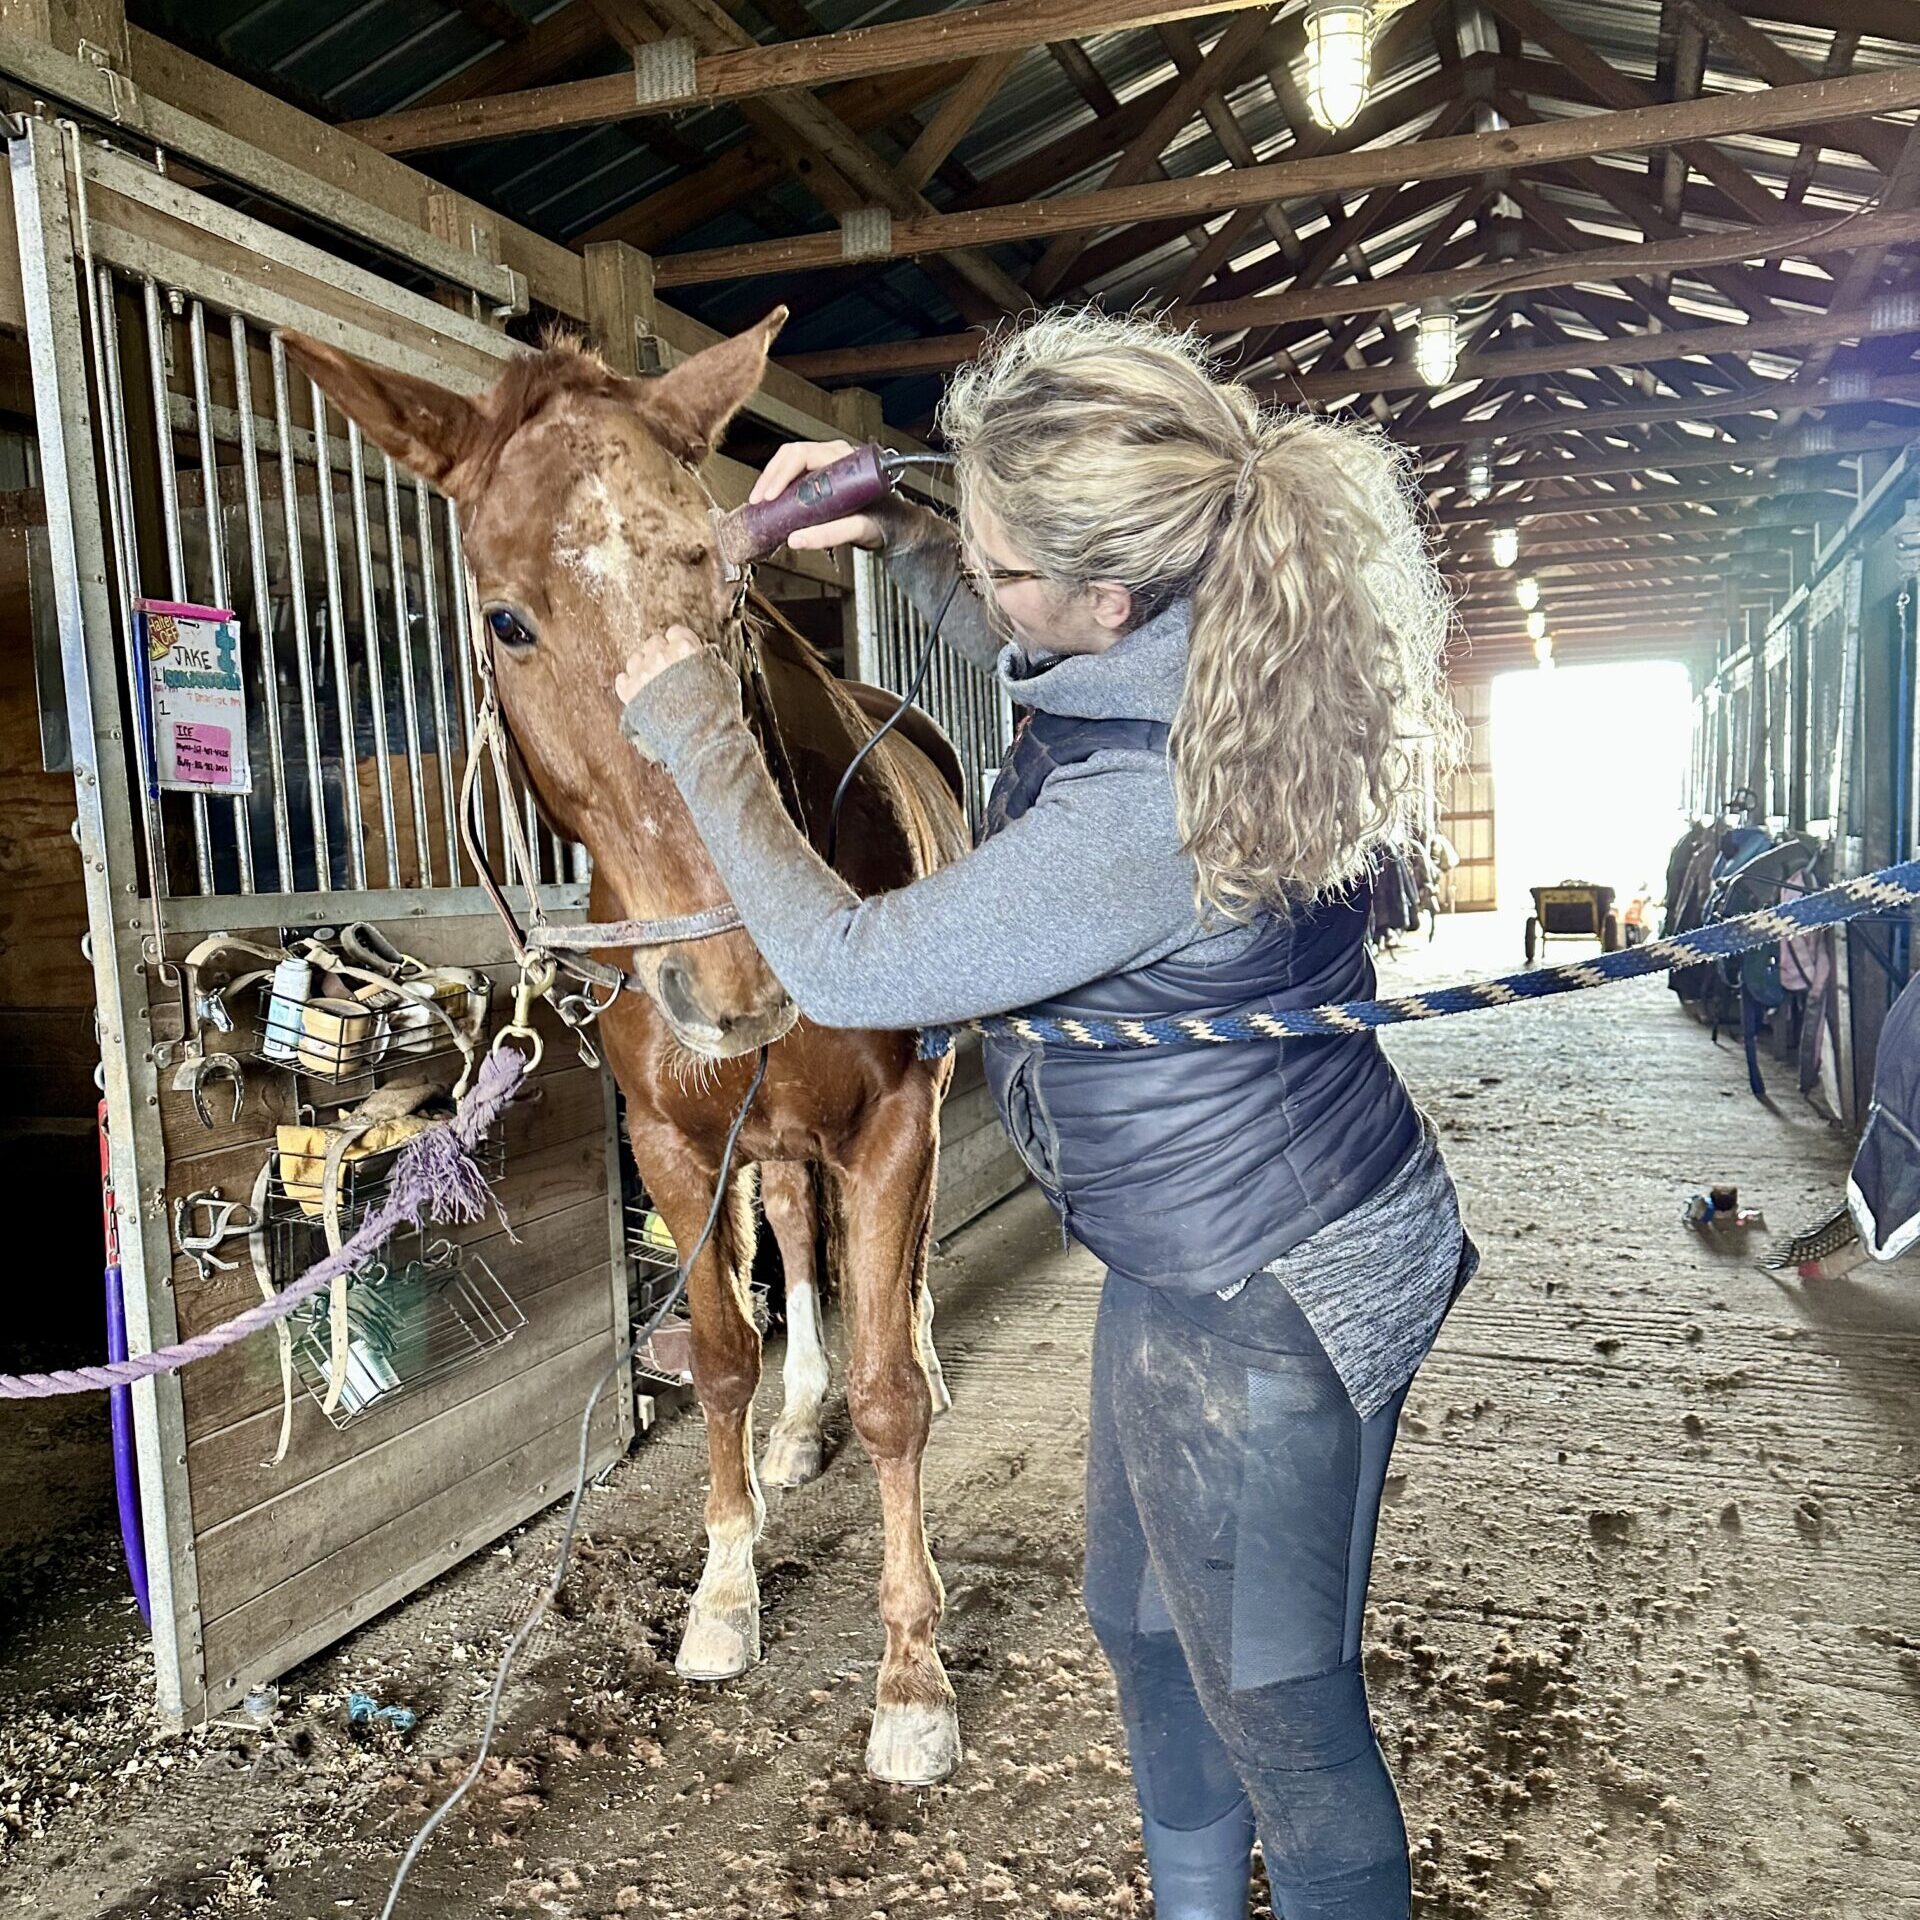
The Clip
It’s time to clip! When starting to clip, here are a few best practices:
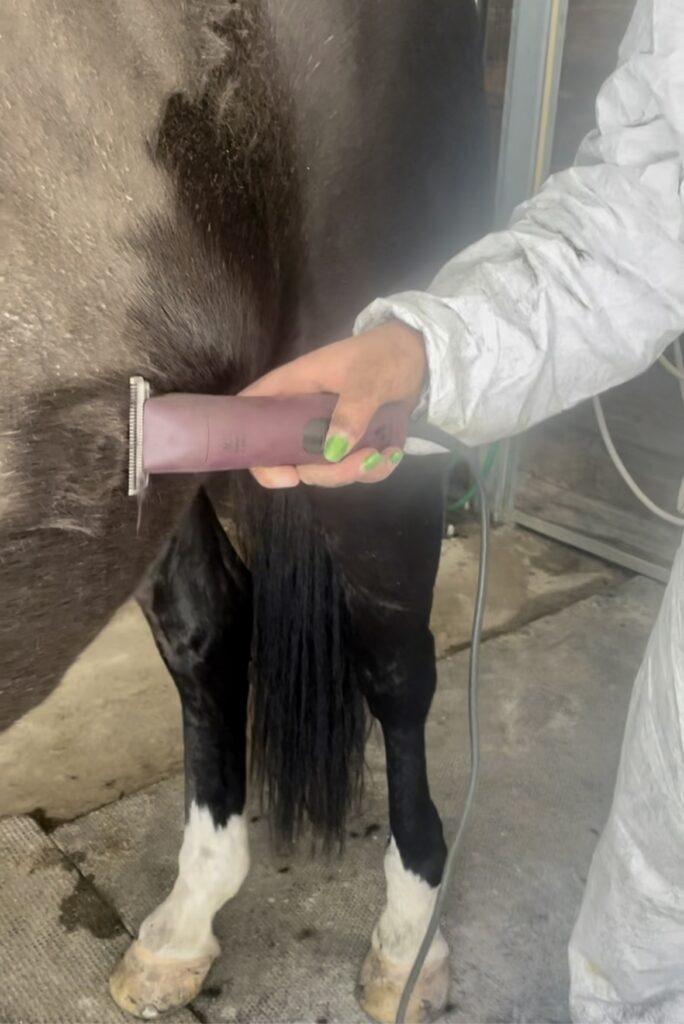
- Make sure to hold the clipper parallel to the horse’s body, not perpendicular.
- Make sure to spray and oil your clipper blades at least every 10 minutes, and continue to check the temperature of the blades by touching them to your hand. Don’t clip with a hot blade!
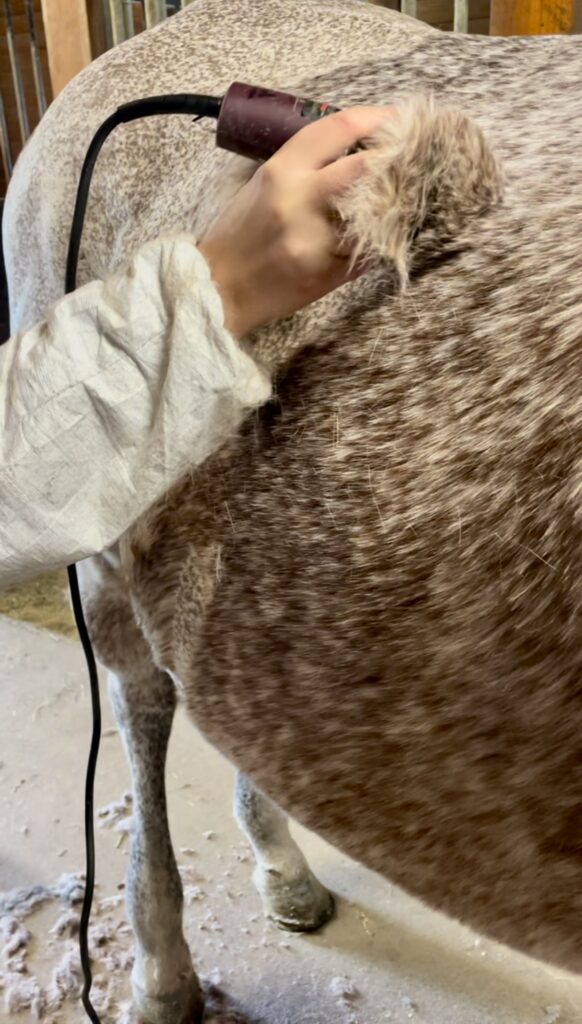
- Clip in the opposite direction of the hair to achieve that smooth finish. The direction of hair growth changes, as should the direction of your clipper!
Sensitivities
Another thing to keep in mind is that all horses have their own sensitivities. The more times you clip any horse, especially the same horse, the more you will be able to predict these sensitivities. However, some areas that are generally sensitive are the ears, the inside of the hocks, the armpits and the lower abdomen. Be sure to go slowly in these areas. A horse will often give you warning signs that they are uncomfortable, such as swishing their tails and stomping their hooves.
Take Your Time!
Finally, consider the kind of clip you’re planning to do in advance so you schedule the right amount of time. For example, a full-body clip takes longer than a hunter clip, which takes longer than a trace clip. Additionally, consider if you are going to include any designs or add a mark, such as a saddle patch or a spur square.
Post-Clip Care
So you have a clipped horse – now what?
The most important thing to consider with post-clip care is blanketing! You have shaved off your horse’s natural barrier to the elements, so it is now your responsibility to supplement that protection. In the cooler weather, make sure that your horse is properly blanketed for the temperature, and in the summer, make sure that your horse has a fly sheet to protect it from bugs.
Closing Remarks
Clipping is an important part of horse care and is common practice in both the show ring and the retirement pasture. If you are going to clip a horse, make sure you have both the proper materials and machines as well as the proper setup. Take your time, and don’t be afraid to ask for help if you need it!
I have always believed that knowledge is power, and I want to help empower more people to start to grow their horsemanship skills. When I first started on this journey, I wish there was a resource out there that would have supported me and answer some of my questions. I love that I can contribute to a platform that encourages knowledge sharing for the benefit of the horse.
Through my business Tuller Equine LLC, I work as a Certified Equine Massage Therapist (CEMT) and have had the pleasure of clipping many different styles and designs on countless horses. I also offer data analytics coaching for the equestrian entrepreneur.
